

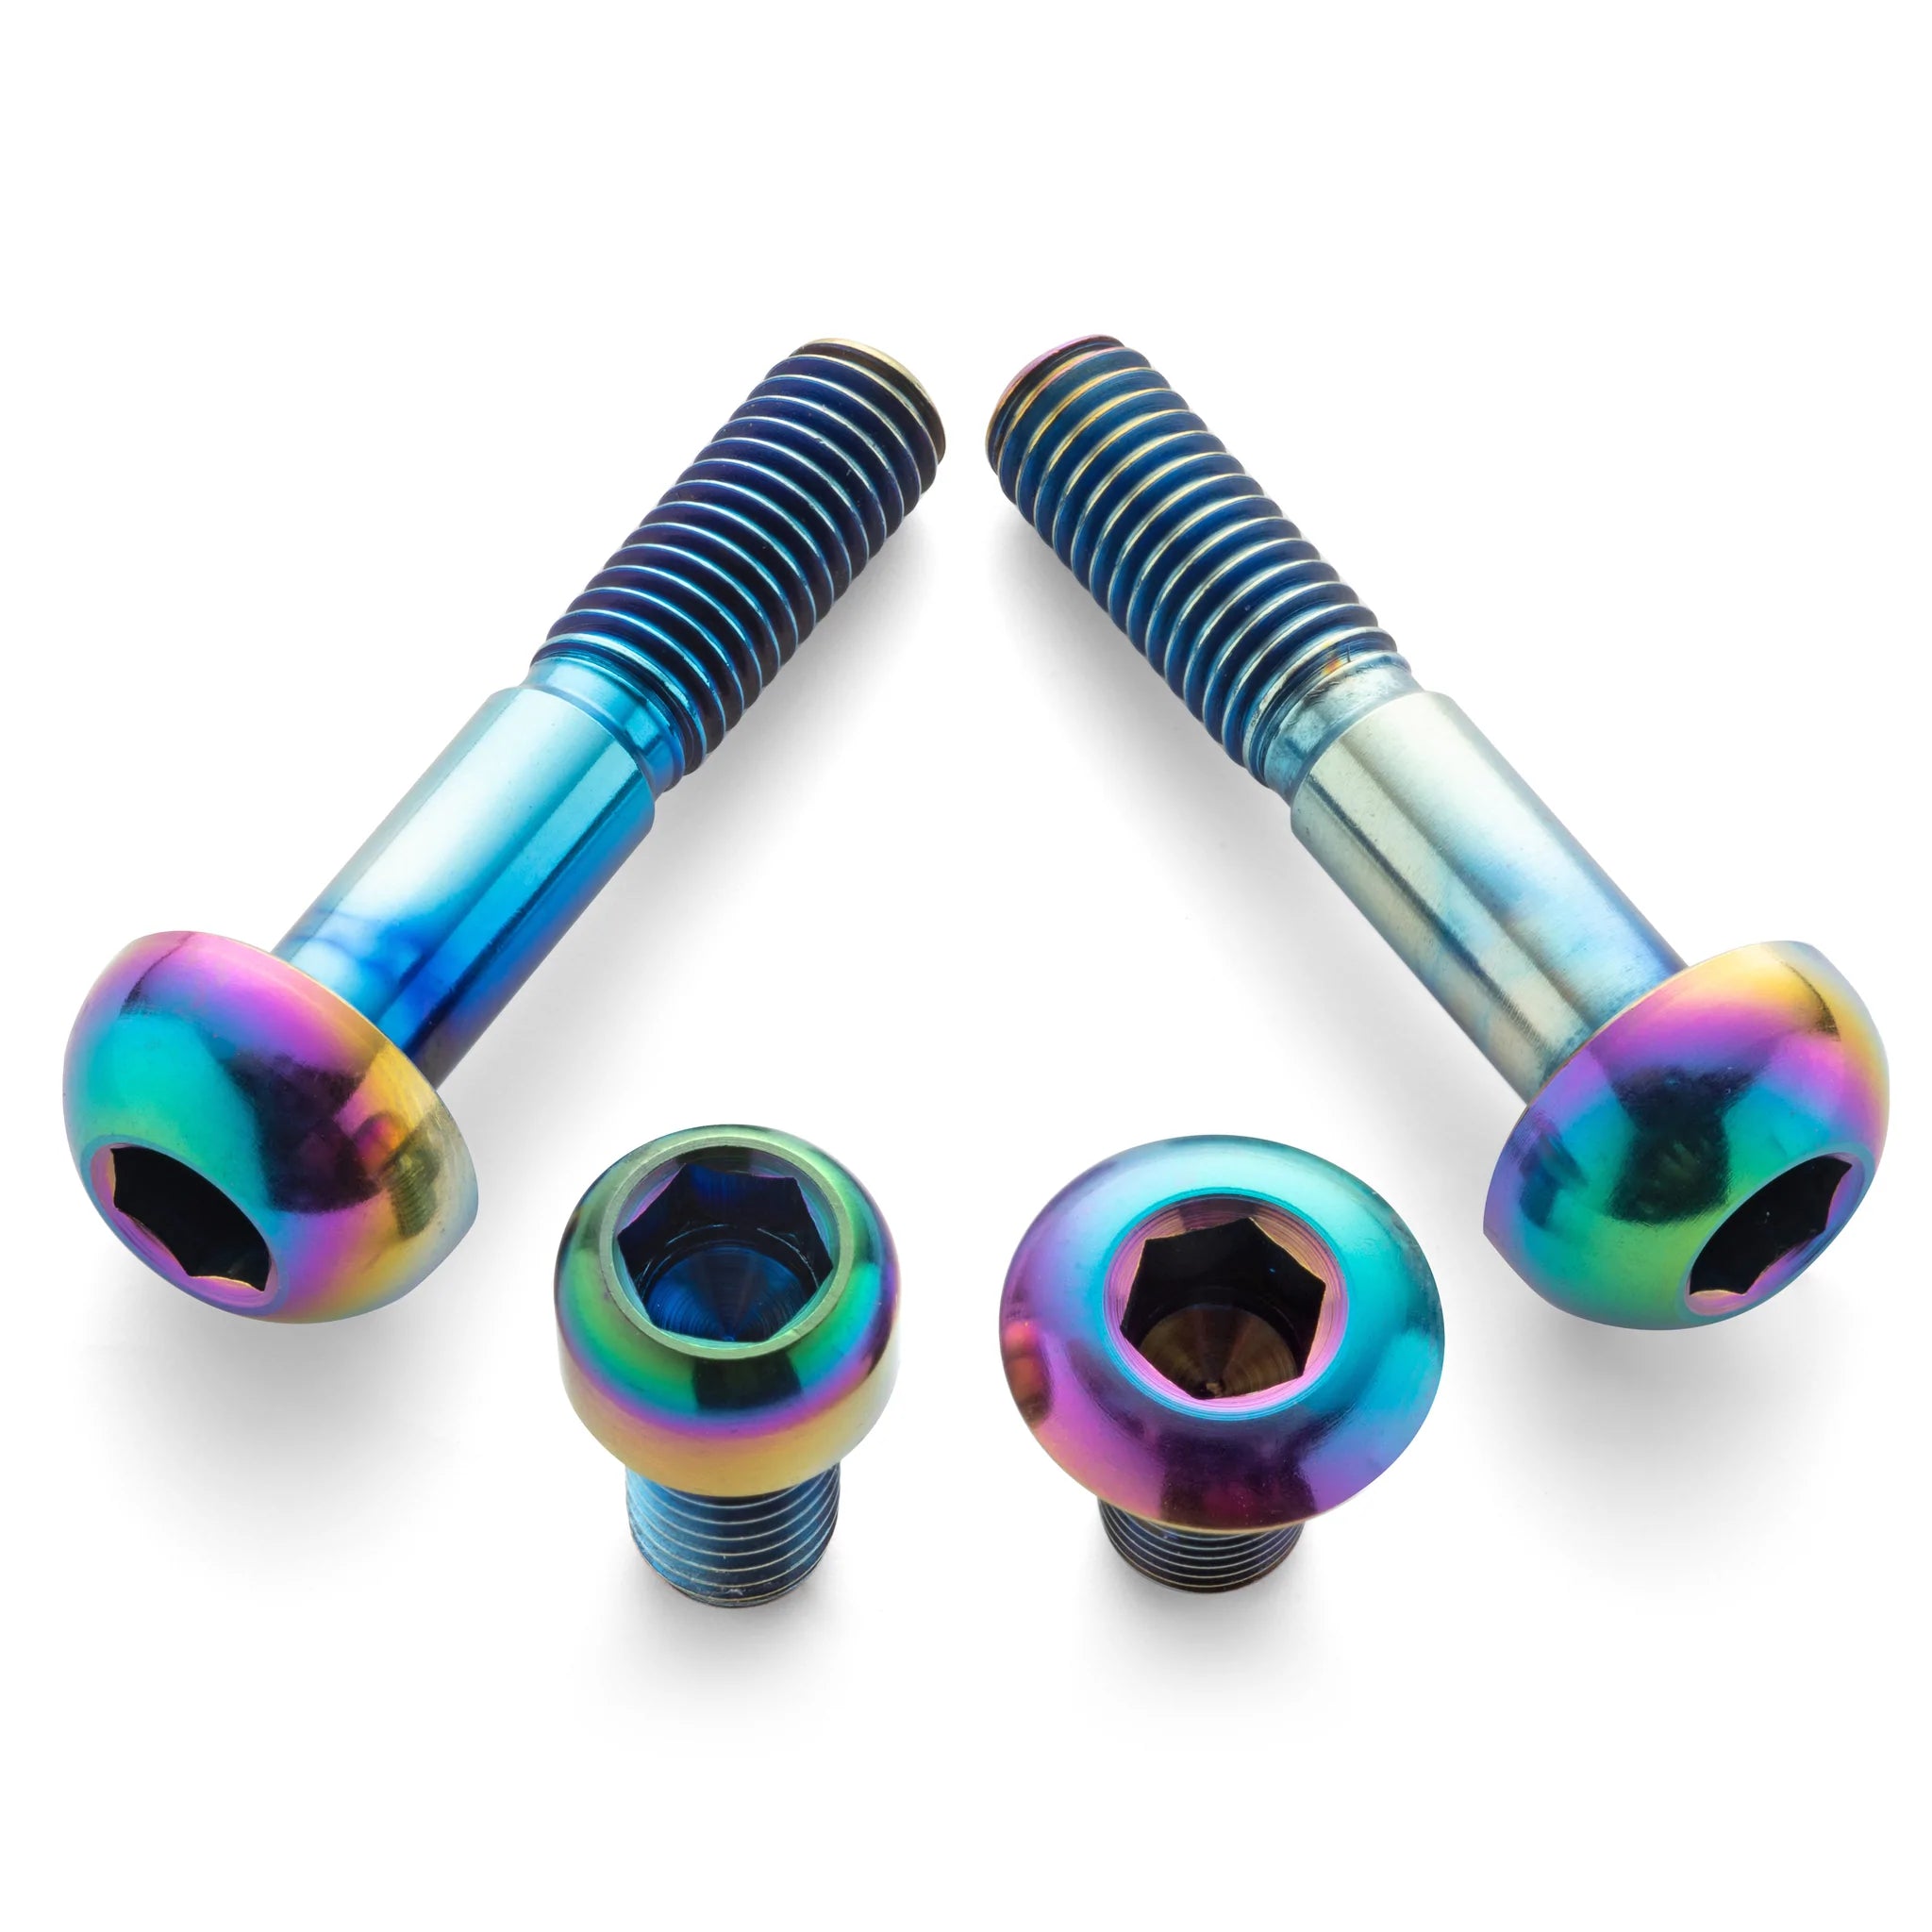

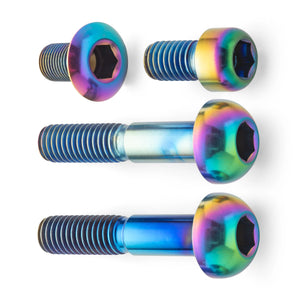

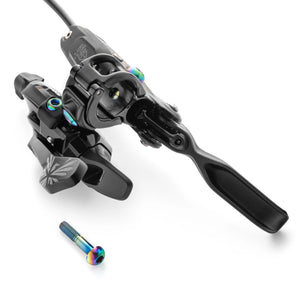
Terske Oil Slick SRAM Matchmaker Brake Lever Hardware Kit 4 Piece
£19.95
Au yeah.
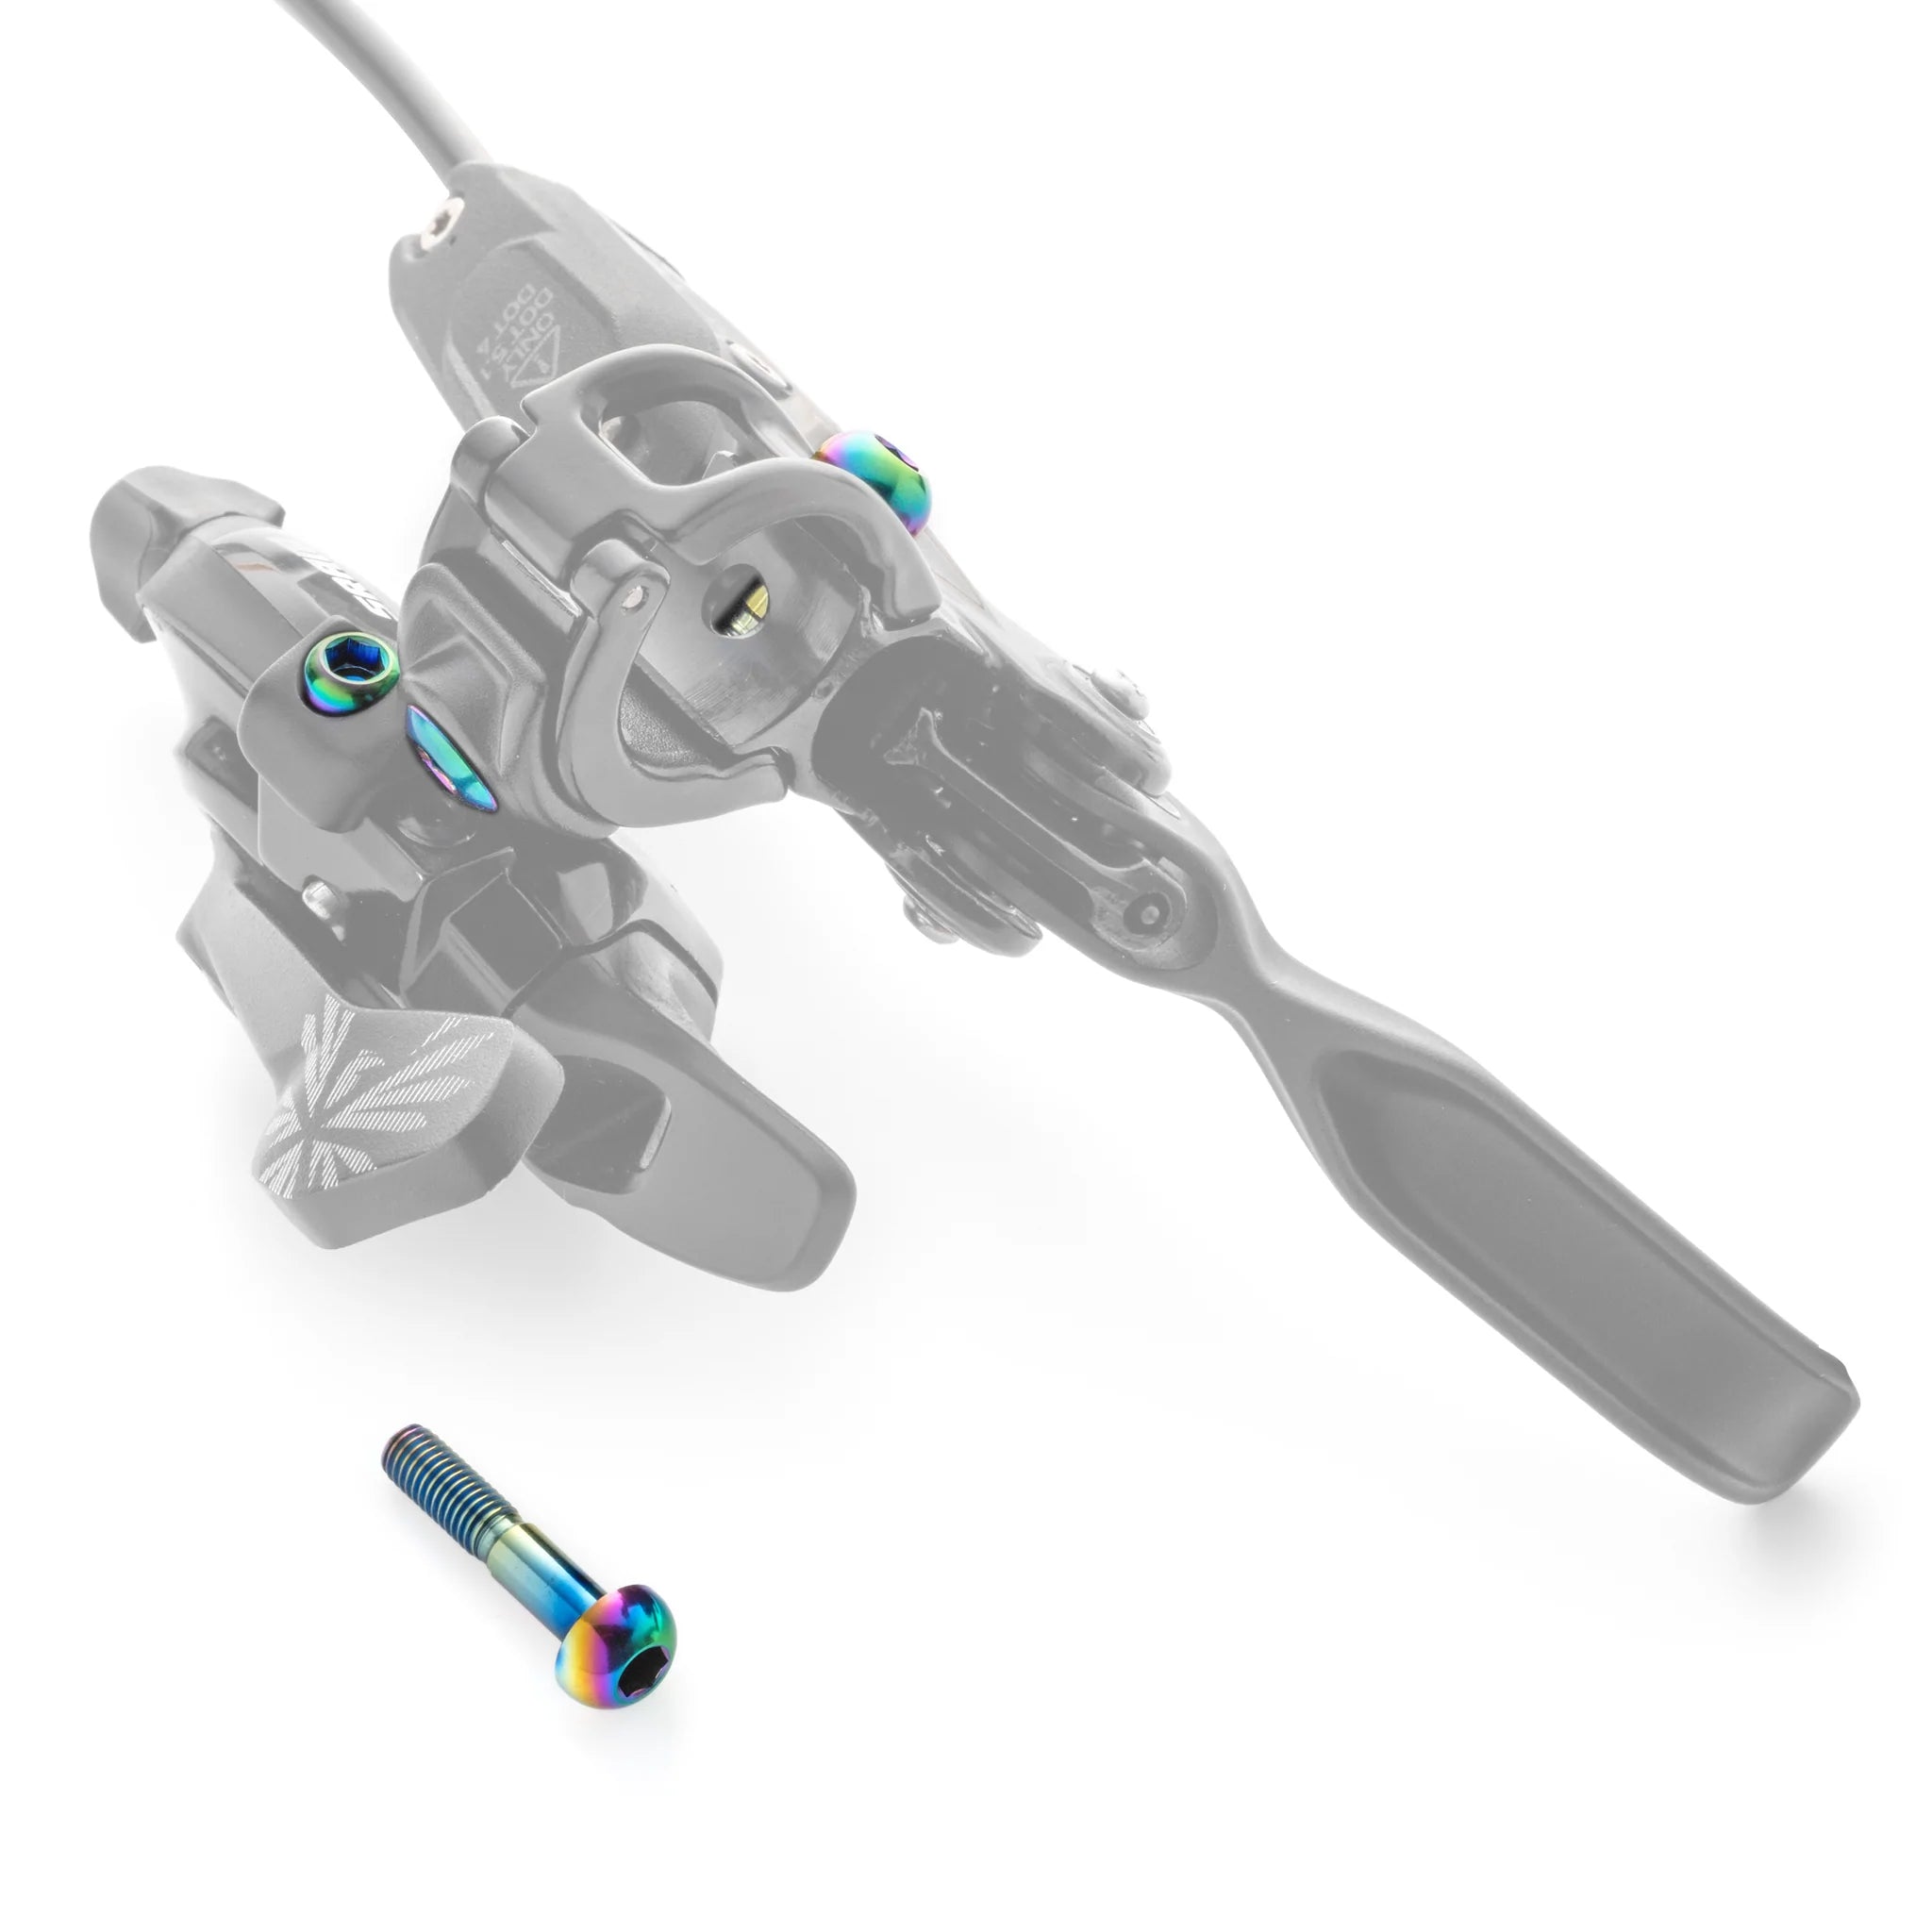
Looking for a nice finishing touch to your custom build? Just can't get enough Oil Slick? You're in the right place.
Our custom Matchmaker brake and shift lever hardware kits are precision machined from strong, corrosion-resistant 6/4 titanium and, well, look awesome.
And because some folks have strong feelings about Torx hardware, all four pieces use a 4mm hex instead.
Will they save weight? Maybe! But that's not really the point, is it?
Compatibility:
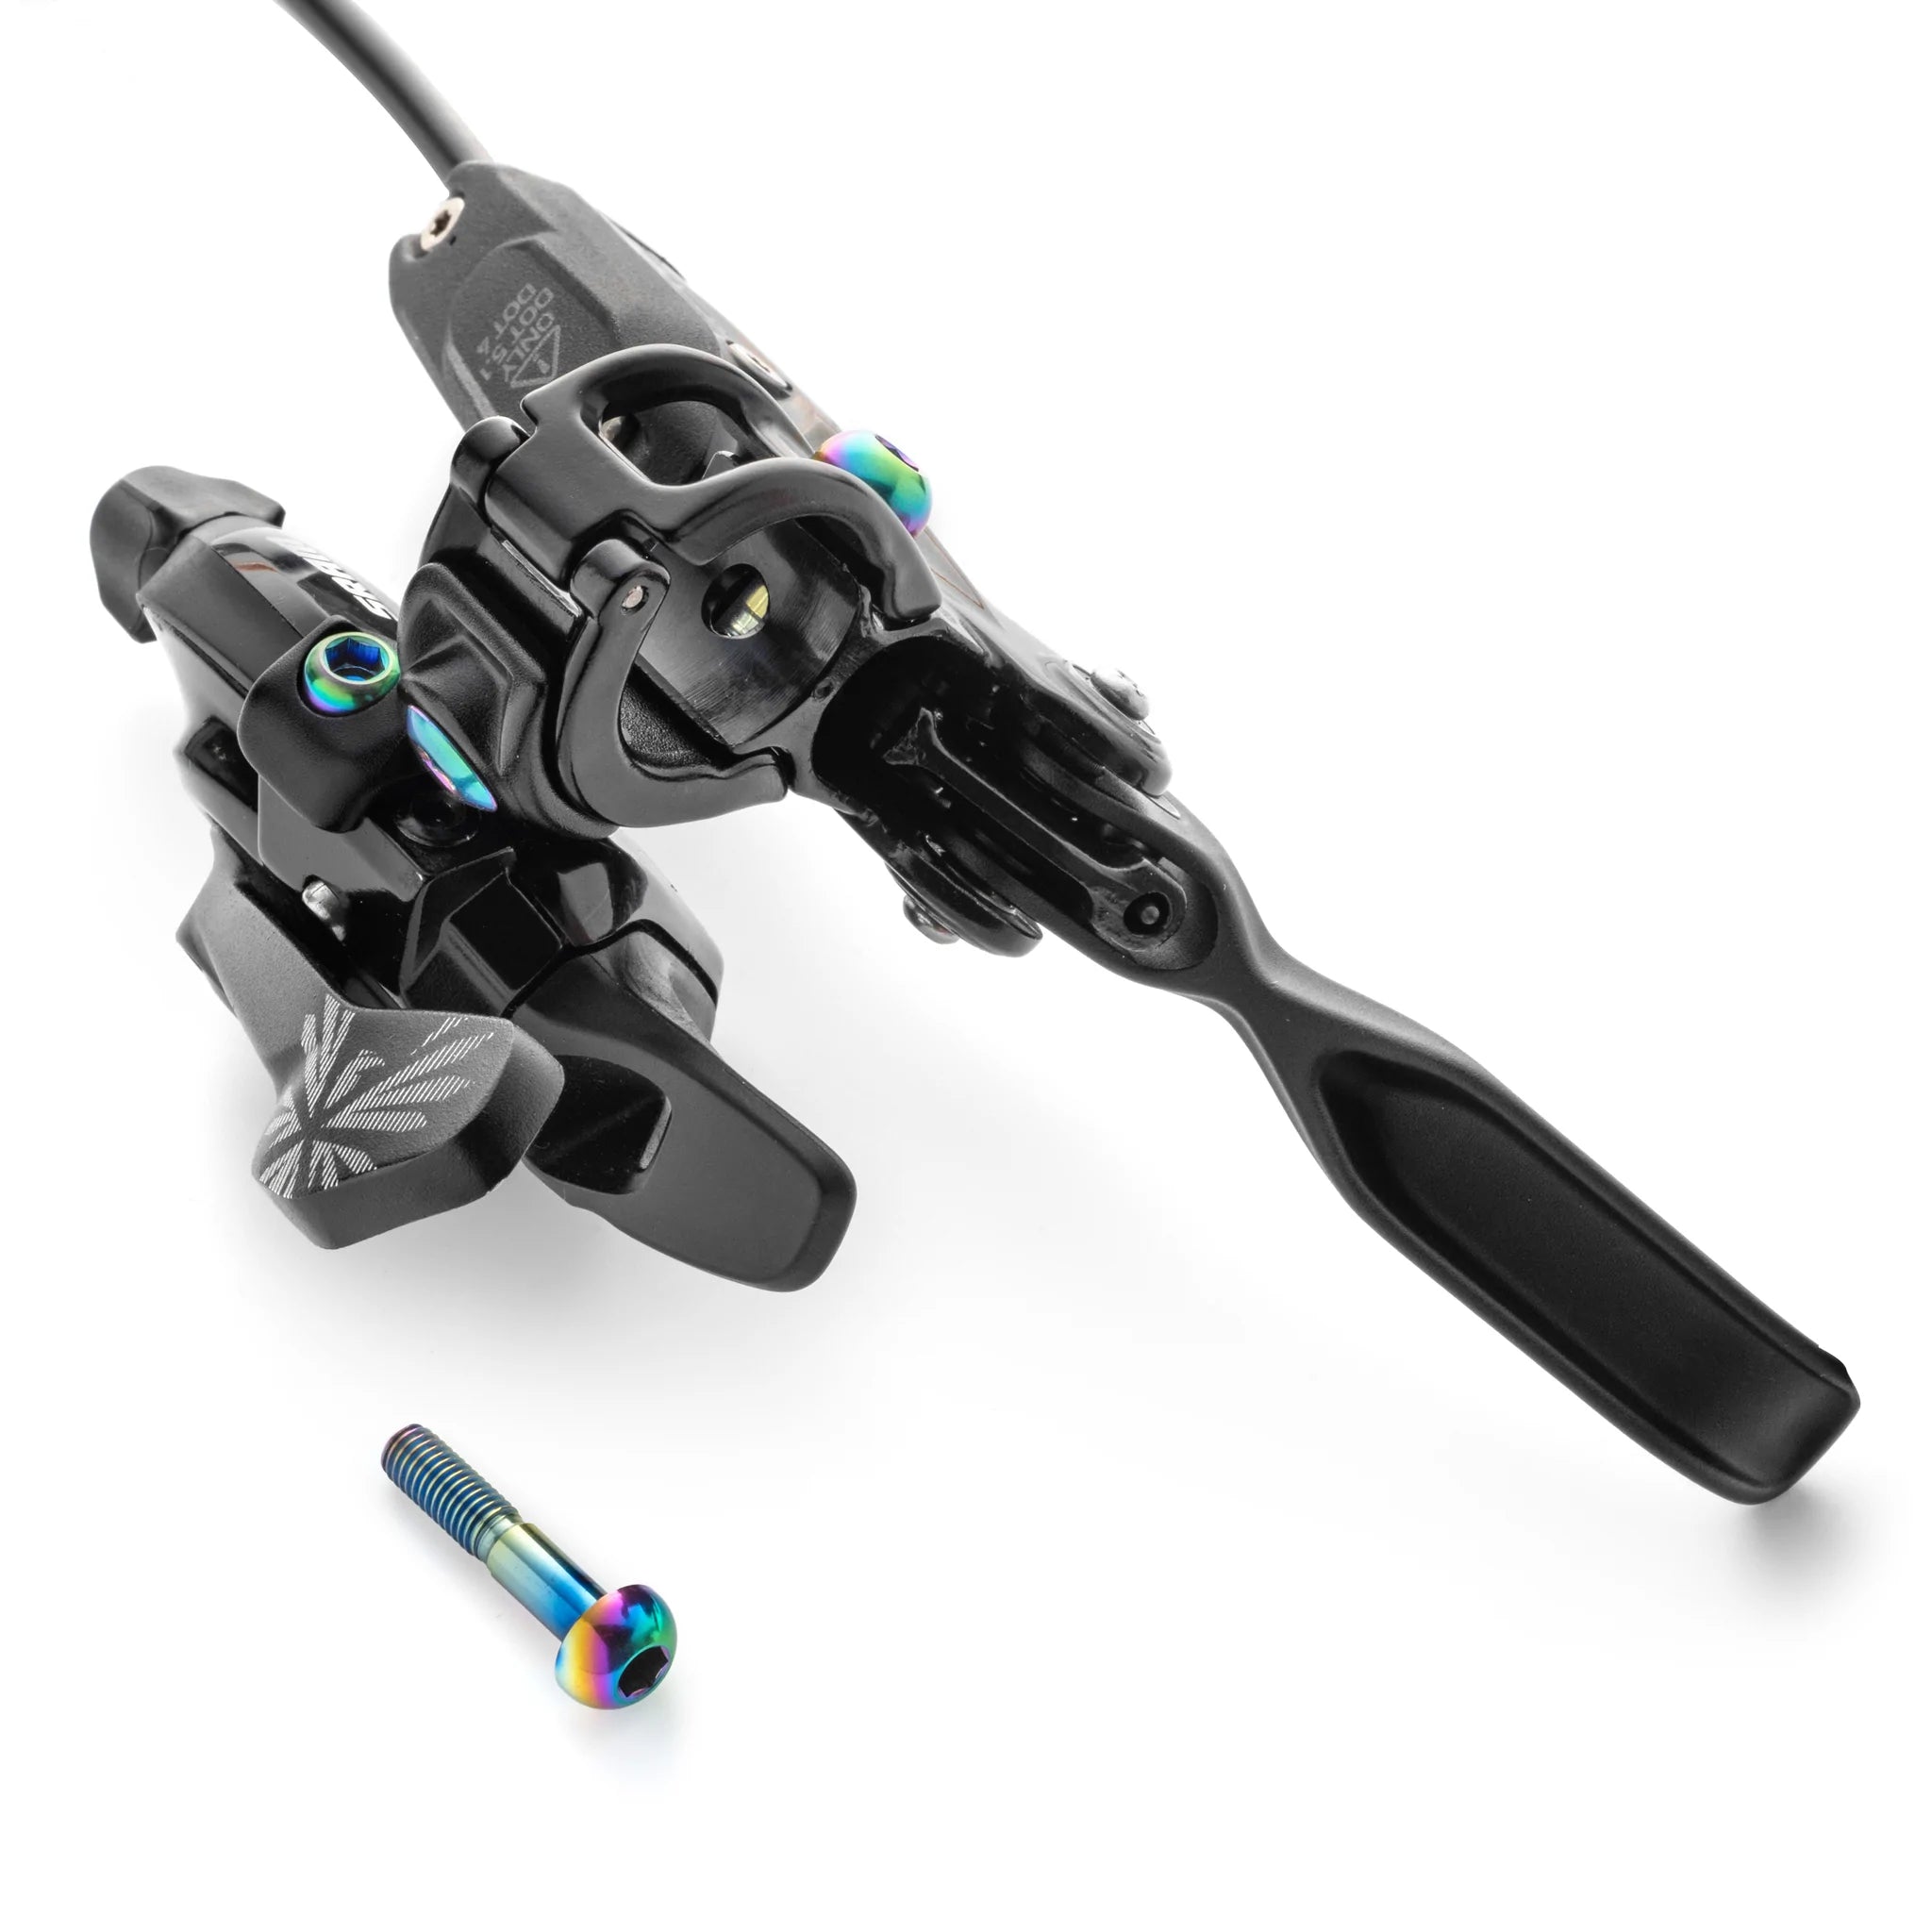
- SRAM and Avid Matchmaker-compatible brake levers with shift levers mounted to the brake clamp.
- Matchmaker-compatible hydraulic disc brake levers
- SRAM
Important!
These bolts hold your brake levers on. At the same time, you want your shift and brake levers to rotate instead of break in the event of a crash. We recommend the following torques:
- Lever clamp: 4-5Nm
- Shifter to shifter mount: 5-6Nm
- Shifter mount to brake clamp: 4-5Nm
Installation:
Required tools & supplies:
- Bicycle work stand
- Mild cleaner
- Clean rag
- T25 Torx wrench
- 4mm hex wrench
- Torque wrench with
- 4mm hex bit
- Copper anti-seize
- Optional:
- Digital level or level app
Repeat the following for each lever:
- With the bike on the ground, use a level (or smartphone level app) to note the angle of your brake levers relative to the grips.
- Mount your bike in the work stand.
- Remove the Torx bolt holding the shift lever to the right shifter mount
- Remove the flat head Torx bolt holding the right shifter mount to the brake clamp
- Note how aluminium t-nut with curved flange sits inside lever clamp
- Remove the Torx bolt holding the right and left lever clamps to each lever body
- Clean your brake levers and clamps with a mild solvent and soft cloth, paying special attention to the clamping surfaces. You don't want to introduce dirt, grime, or anything else into your brake system.
- Add anti-seize compound to threads of all new bolts.
- Reinstall aluminium T-nut with curved flange in brake lever clamp and install fine titanium flat head bolt through shifter mount into T-nut barrel.
- T-nut threads are very fine and subject to cross-threading: if you feel resistance stop, realign parts, and try again.
- Use a 4mm hex key to tighten the flat head screw to finger-tight but do not torque at this point.
- Make sure that the T-nut flange sits in the broad brake clamp channel. If it's sitting proud of the bar clamp surface you could scratch or damage your handlebar.
- Reinstall shift lever on shift lever mount using short titanium screw and 4mm hex key.
- Reinstall brake levers on the bar using long titanium screws.
- Remove the bike from the stand and hold or lean upright.
- Loosen the clamp bolt and rotate the levers to the angle noted earlier.
- Using torque wrench and 4mm hex bit torque brake lever clamp bolts to 4-5Nm
- Brake levers should not rotate in normal use.
- Loosen the flat head screw holding shift lever mount to the brake lever clamp and rotate around the bar to a comfortable position.
- Using torque wrench and 4mm hex bit torque flat head titanium screw holding shift lever mount to brake clamp to 4-5Nm
- Using torque wrench and 4mm hex bit torque titanium bolt holding shift lever to shift lever mount to 5-6Nm
- Go for a ride.
As always,
Trademarks are the property of their respective owners. Compatibility statements from Terske are not endorsements by trademark holders.