

Terske Natural Shimano Brake Lever Hardware Kit
£19.95
Get Fancy
Looking for a nice finishing touch to your custom build? Can't get enough of that sweet, sweet Ti? You're in the right place.
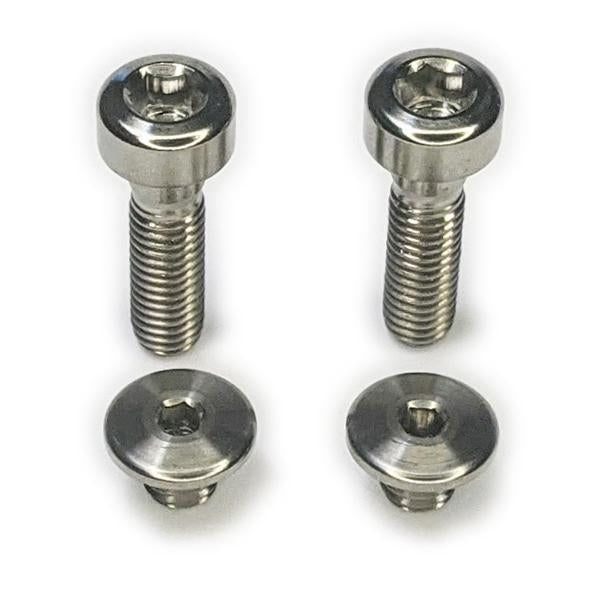
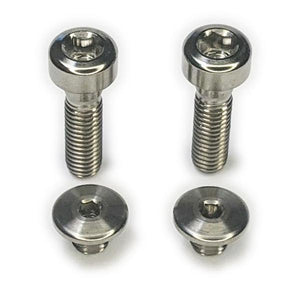
Our custom four-piece brake lever hardware kits are precision machined from strong, corrosion-resistant 6/4 titanium and, well, look awesome.
Will they save weight? Maybe! But that's not really the point, is it?
Compatibility:
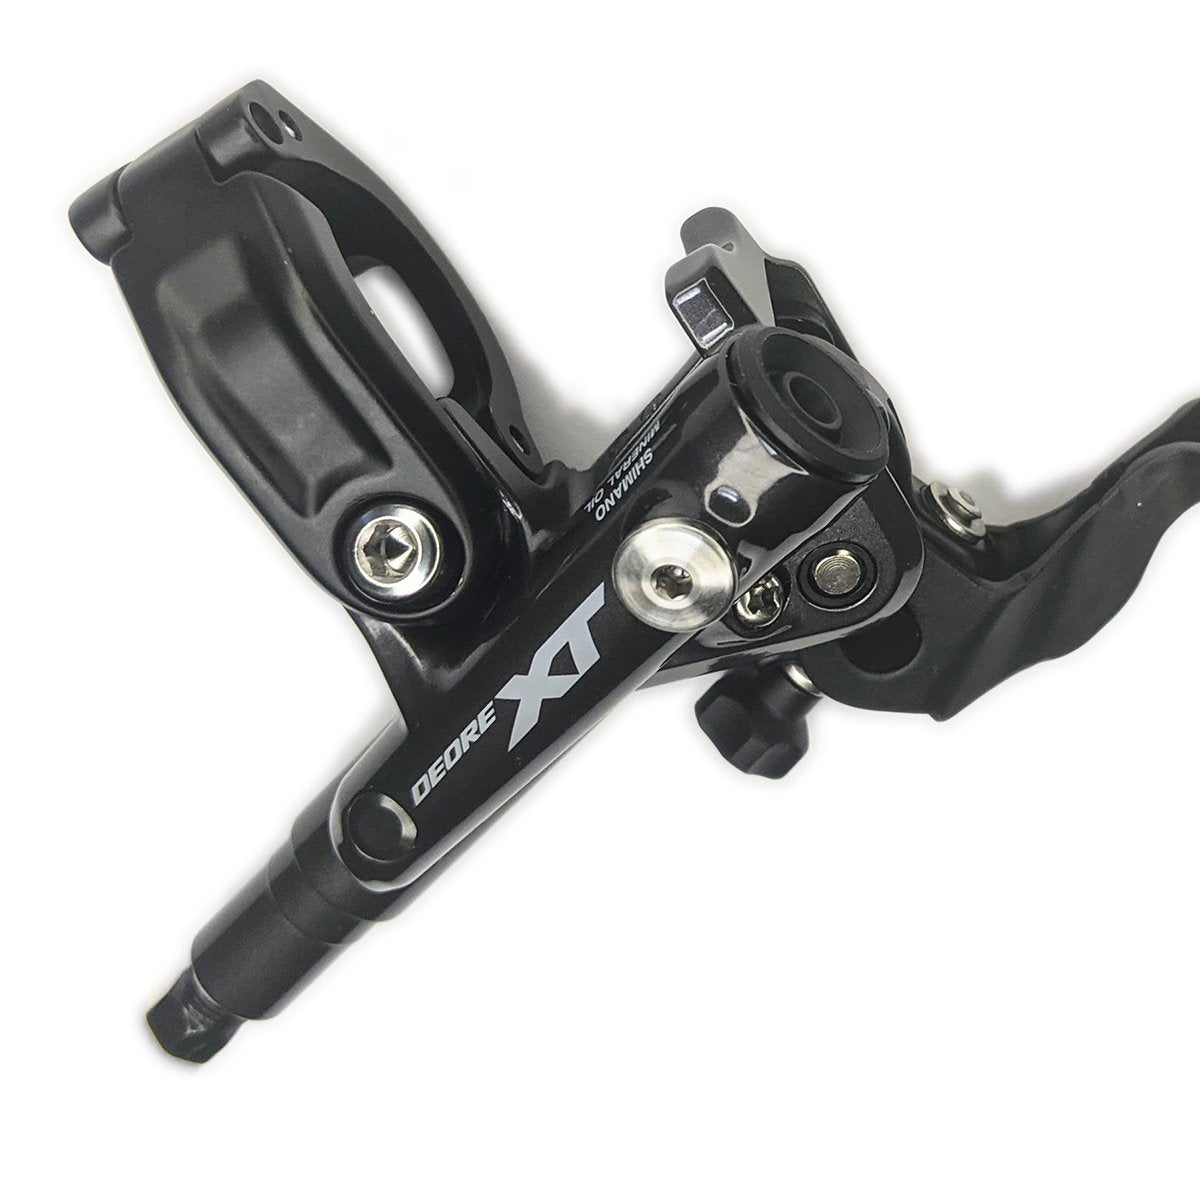
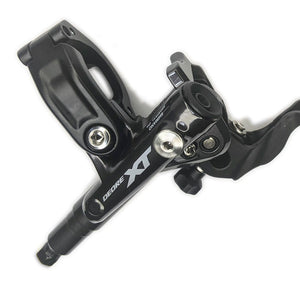
Brake lever (BL) part numbers are located under the brake lever body. This kit has been tested and approved ONLY for the following Shimano lever models:
- XTR BL-M9100
- XT BL-M8100
- SLX BL-M7100
- Deore BL-M6100
- Unlabeled BL-M6100
Important!
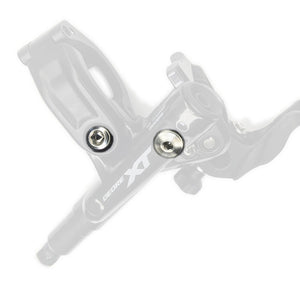
The smaller bolts cover the very important hydraulic reservoir. DO NOT INSTALL unless you have the skills and tools needed to bleed the brakes if fluid is lost.
"Oil slick" anodizing is an electrochemical process and no two parts will look the same. Variety is the spice of life.
Installation:
Required tools & supplies:
- Bicycle work stand
- Mild cleaner
- Clean rag
- 4mm hex wrench
- 2.5mm hex wrench
- Torque wrench with
- 2.5mm hex bit
- 4mm hex bit
- Copper anti-seize
- Optional:
- Digital level or level app
Repeat the following for each lever:
- With the bike on the ground, use a level (or smartphone level app) to note the angle of your brake levers relative to the grips.
- Mount your bike in the work stand.
- Clean your brake levers with a mild solvent and soft cloth, paying special attention to the area around the reservoir covers. You don't want to introduce dirt, grime, or anything else into your brake system.
- Insert a 2-2.5mm hex key or small pick into the "Push to Open" hole and remove the lever from the bar.
- Using a 4mm hex key, remove the stock clamping bolt from your brakes
- If you haven't lost it already, a little O-ring will likely come off when the bolts are unthreaded.
- Keep track of your O-rings! Some brake models use different sizes and you don't want a dirty clamping bolt O-ring in your reservoir.
- Insert a 2-2.5mm hex key or small pick into the "Push to Open" hole and remove the lever from the bar.
- Insert one of the longer bolts in place of the stock clamping bolt.
- Roll the O-ring onto the threaded end of the bolt to keep it in place.
- Apply a dab of copper anti-seize to the end of one of the bolt.
- Reinstall the brake lever on the bar
- You may need to use the 2.5mm hex in the "Push to Open" hole to open the clamp wide enough
- Take care to align the bolt with the lever threads. The alignment can be a little fiddly so take your time.
- Rotate the lever so that it is roughly level to the ground and snug clamp bolt to hold lever in place (<4Nm).
- Use a 2.5mm hex wrench to remove the stock bleed screw from the reservoir.
- Take care not to jostle the bike or squeeze the brake lever with the bleed screw removed.
- In freshly-bled brakes, brake fluid should be visible in the bleed port. You want it to stay there. If you don't see fluid, it could be time for a brake bleed.
- Carefully remove the O-ring from the bleed screw head.
- Sometimes the O-ring will be left in the bleed port, if so, pluck it out.
- Carefully roll the O-ring onto the replacement bleed screw such that it sits around the smooth section immediately under the screw head.
- Insert the replacement bleed screw into the bleed port and tighten it to 0.4 Nm.
- Once again taking care not to jostle the bike or squeeze the brake lever until bleed port is covered and sealed.
- Do not add grease or anti-seize to the bleed screw- we don't want any of either in your brake fluid.
- That's really not tight at all. The hex is tiny and the reservoir is not a pressurized part of the braking system. Go easy.
- Inspect your lever for spilled fluid around the bleed port. Because you were really careful and gentle there isn't any, right?
- If there is, please proceed to bleed your brakes or take them to a shop to have them bled.
- Loosen the clamp bolt and rotate the lever to the angle noted earlier.
- Tighten the clamp bolt to 6Nm.
- You want the levers to stay put in normal use but rotate in the event of a crash.
- Repeat steps 1-18 for the other brake lever.
- Give your levers a few good firm squeezes- if they feel mushy or different from how they usually do, give 'em a bleed.
- Go for a ride.